Repository Scan
The repository scan is an alternative to the CI/CD approach. From the dashboard, you can manually trigger a scan of your repository to generate documentation in bulk. Unlike the CI/CD method, this process is not automatic and must be started manually.
Make sure you’ve followed the tagging guidelines outlined here, and that you have a GitHub or GitLab integration connected.
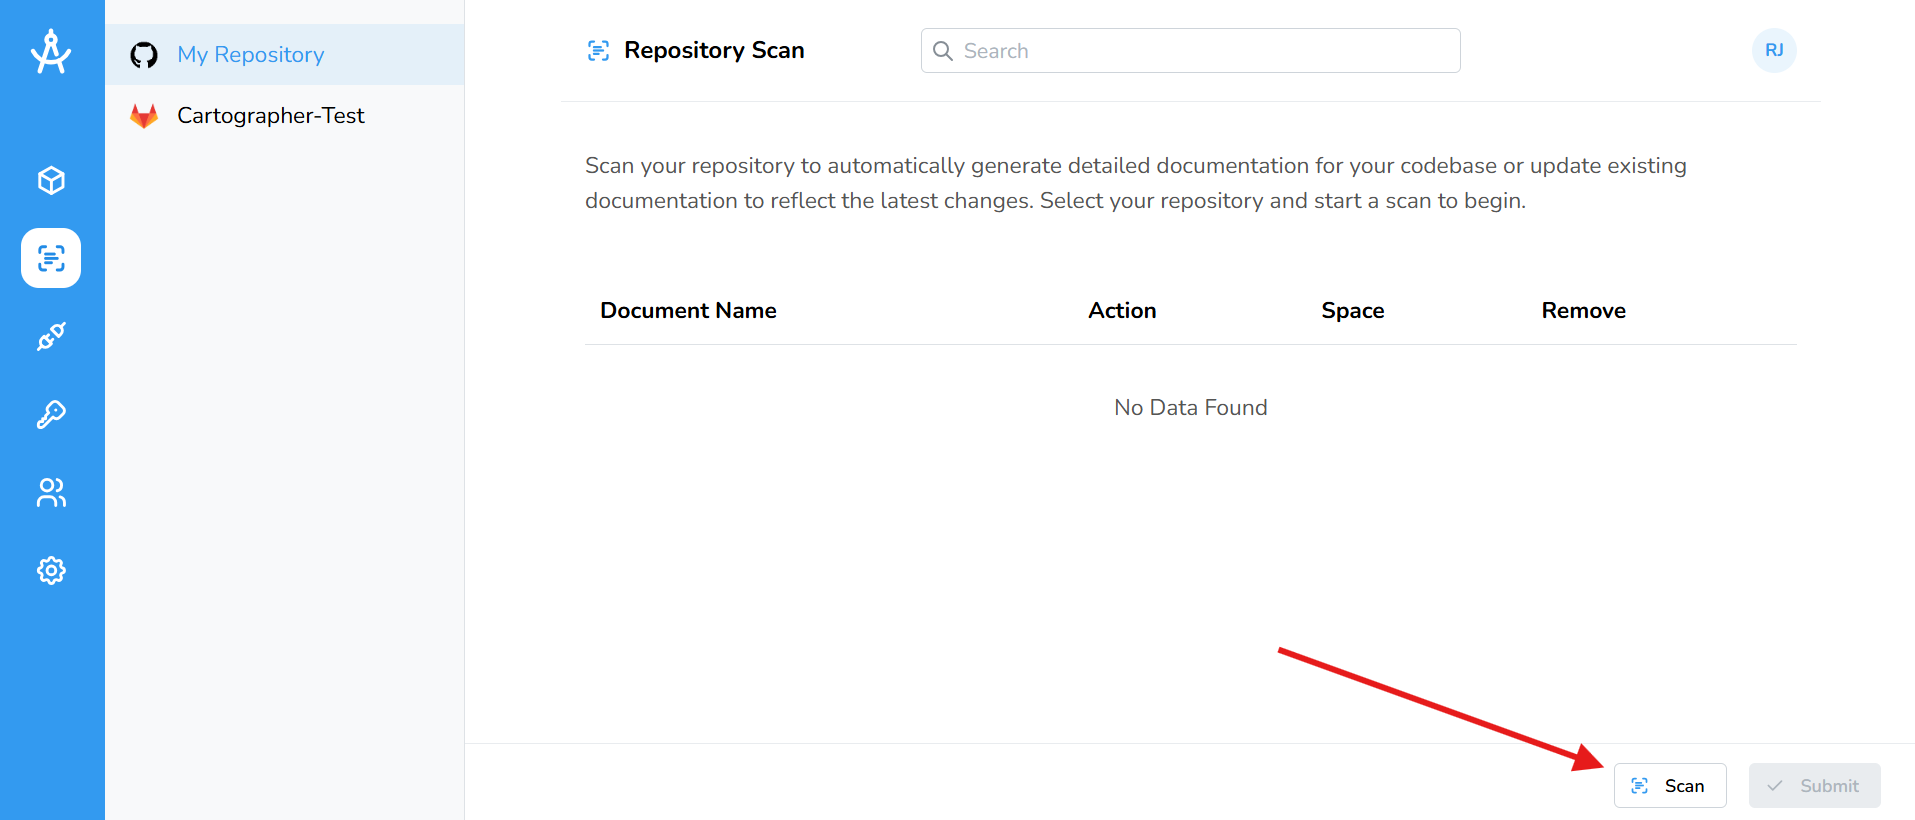
- In the left-hand navigation menu, go to the Repository Scan section.
- In the sidebar, you’ll see a list of your connected repositories. Select the repository you want to scan, then click the Scan button at the bottom right of the page. Note: Scanning your repository may take up to one to two minutes.
- Once the scan is complete, a list of documents will appear. Assign each document to the appropriate space, and remove any you don’t need by clicking the trashcan icon.
- When you’re ready, click Submit. Your request will be processed, and you’ll be taken back to your space’s landing page, where you can watch your documentation being generated.
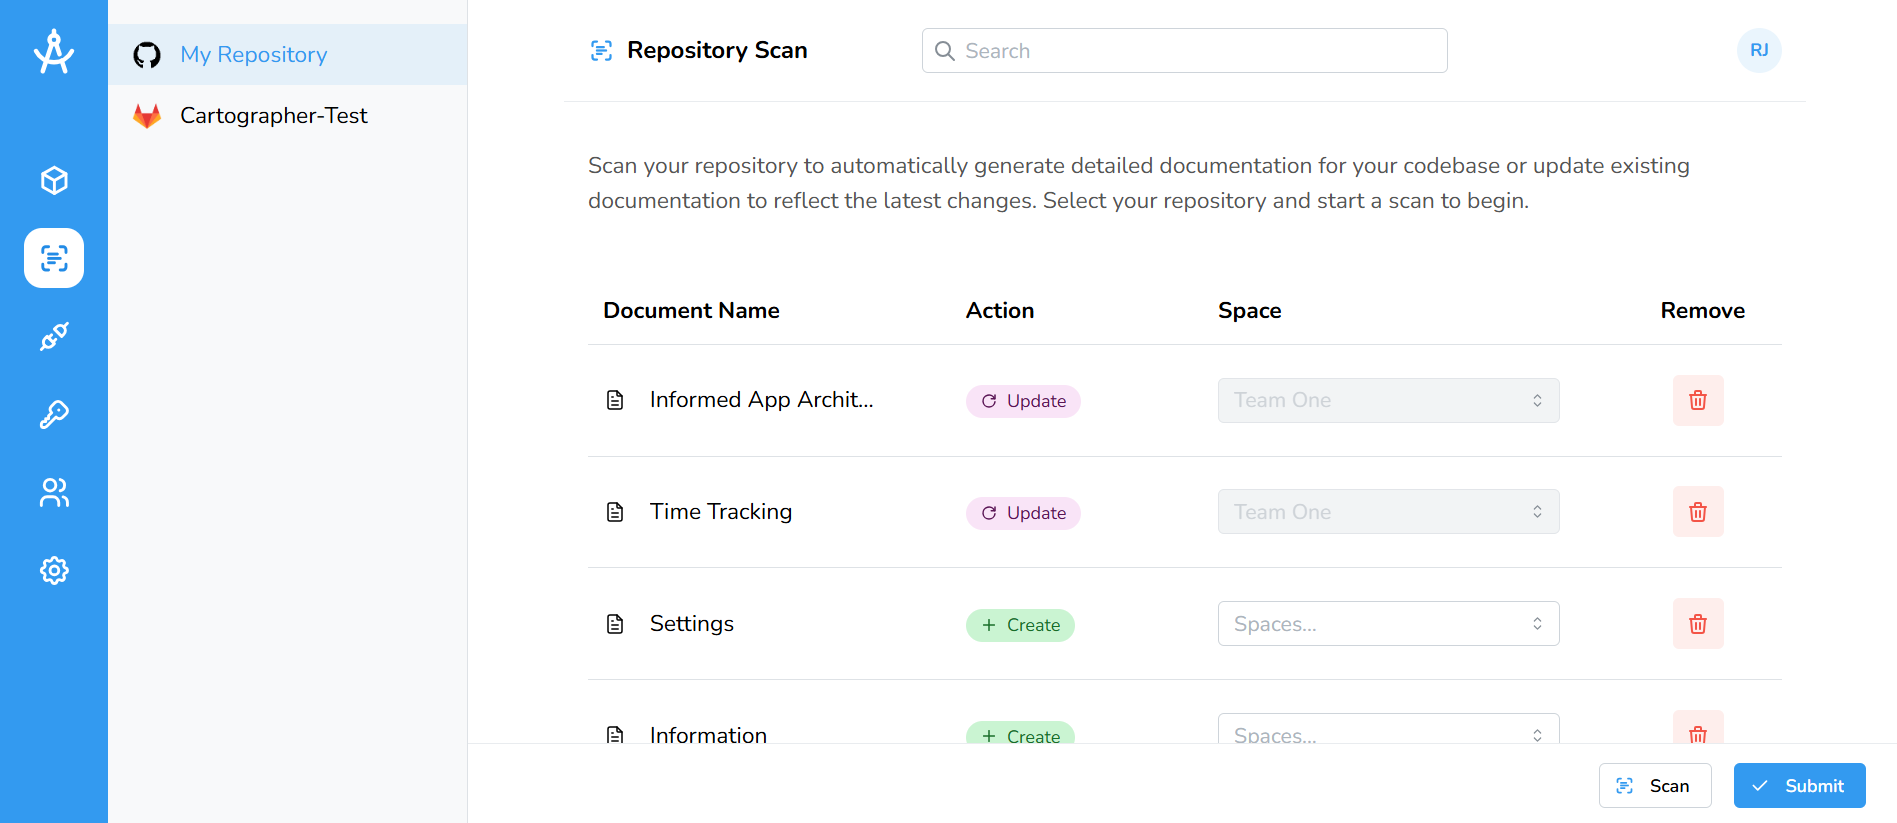
Each document can have one of three possible actions: Create, Update, or Skipped. Note: if a document is in the trash, it cannot be processed. You must either restore it or remove it from the scan.
| Create | Generates a new document. |
| Update | Applies changes to an existing document. |
| Skipped | The document is not processed. This may occur if it belongs to a space you are not authorized to access, or if the space it was part of has been deleted. |