Using Documents
This section explains how to create, edit, and delete documents. Let's get started!
Creating Documents
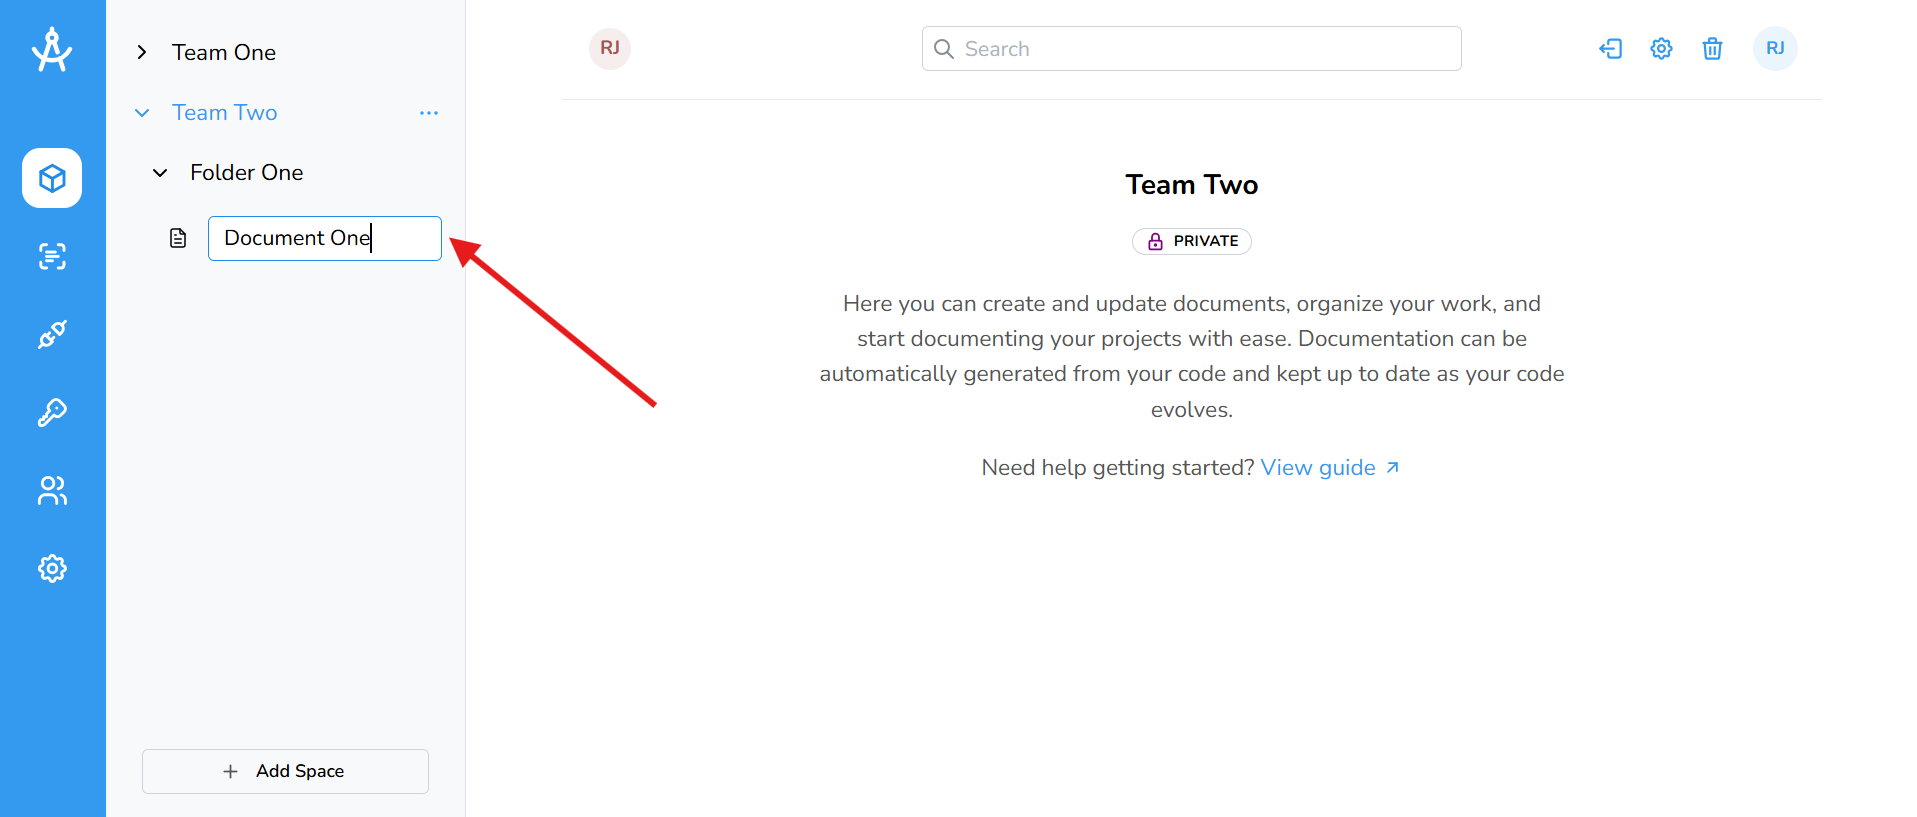
Cartographer automatically creates documents through your CI/CD pipeline, a repository scan, or manual code upload. You can also choose to create a blank document. To do so, open the ellipsis menu on the desired space or folder and select Create Blank Document. Next, you’ll be prompted to name the document, after which you’ll be taken directly to the document editor
Editing Documents
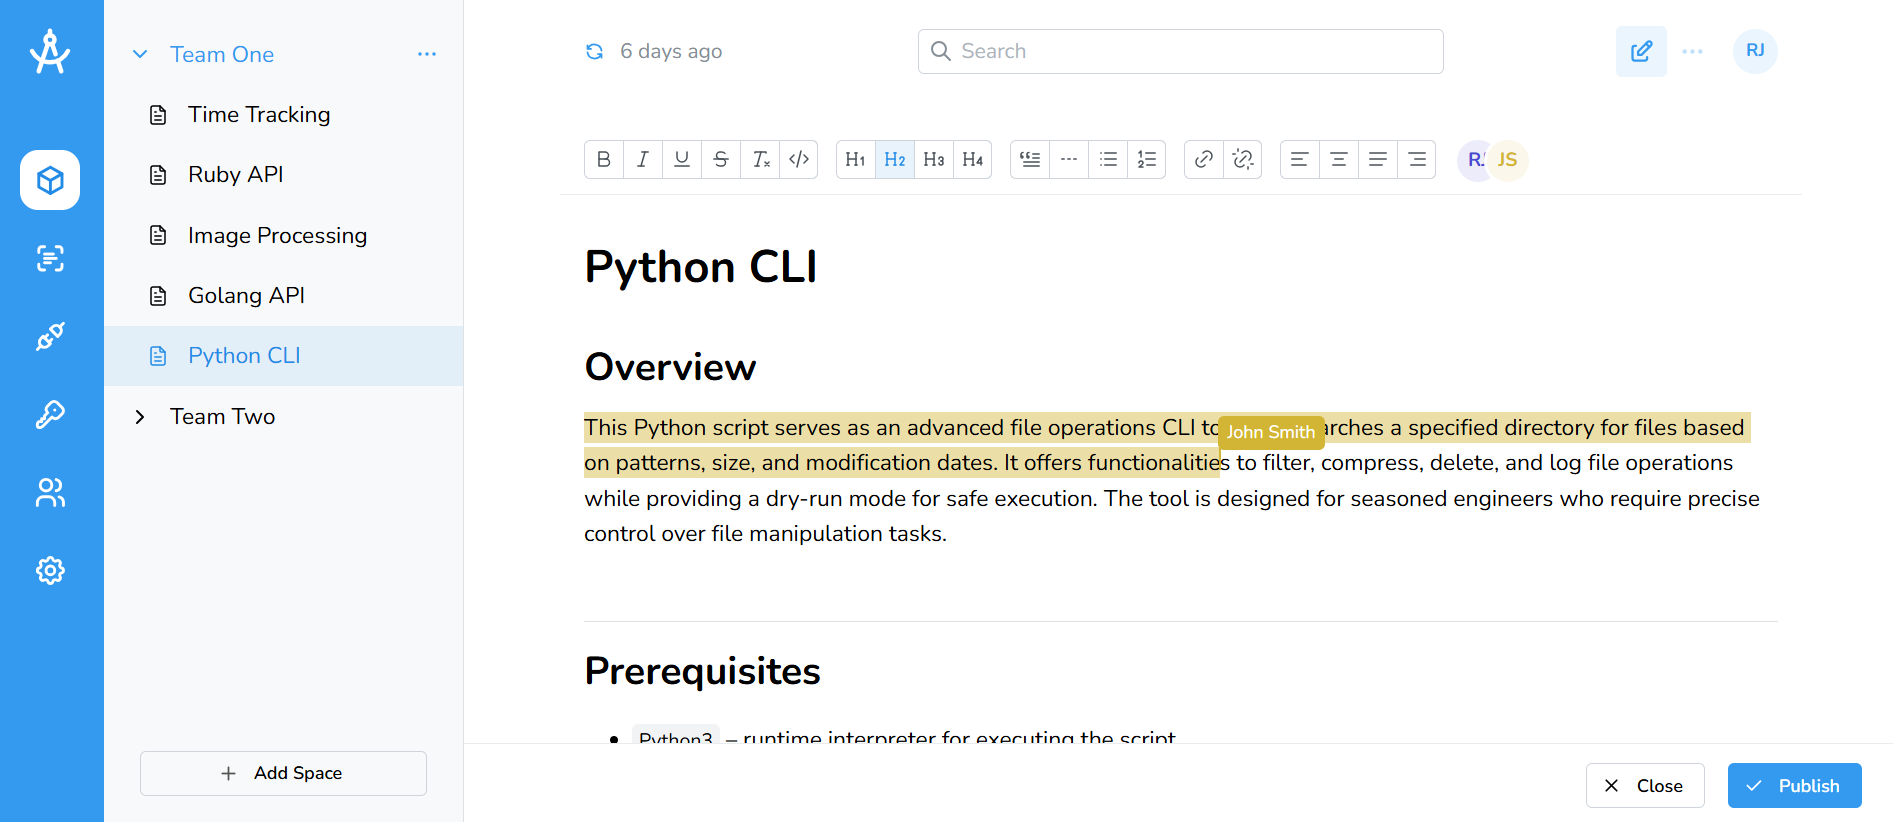
Cartographer automatically updates your documents through the CI/CD pipeline or repository scans, but you can also edit them directly when needed.
- Select the document you want to edit.
- Click the edit icon in the top-right corner of the page.
- You'll be taken to the document editor, where you can collaborate in real time with your teammates.
- When you're ready to publish, click the Publish button in the bottom-right corner of the screen.
- When finished, click the Close button. Note: Any unpublished changes will be lost.
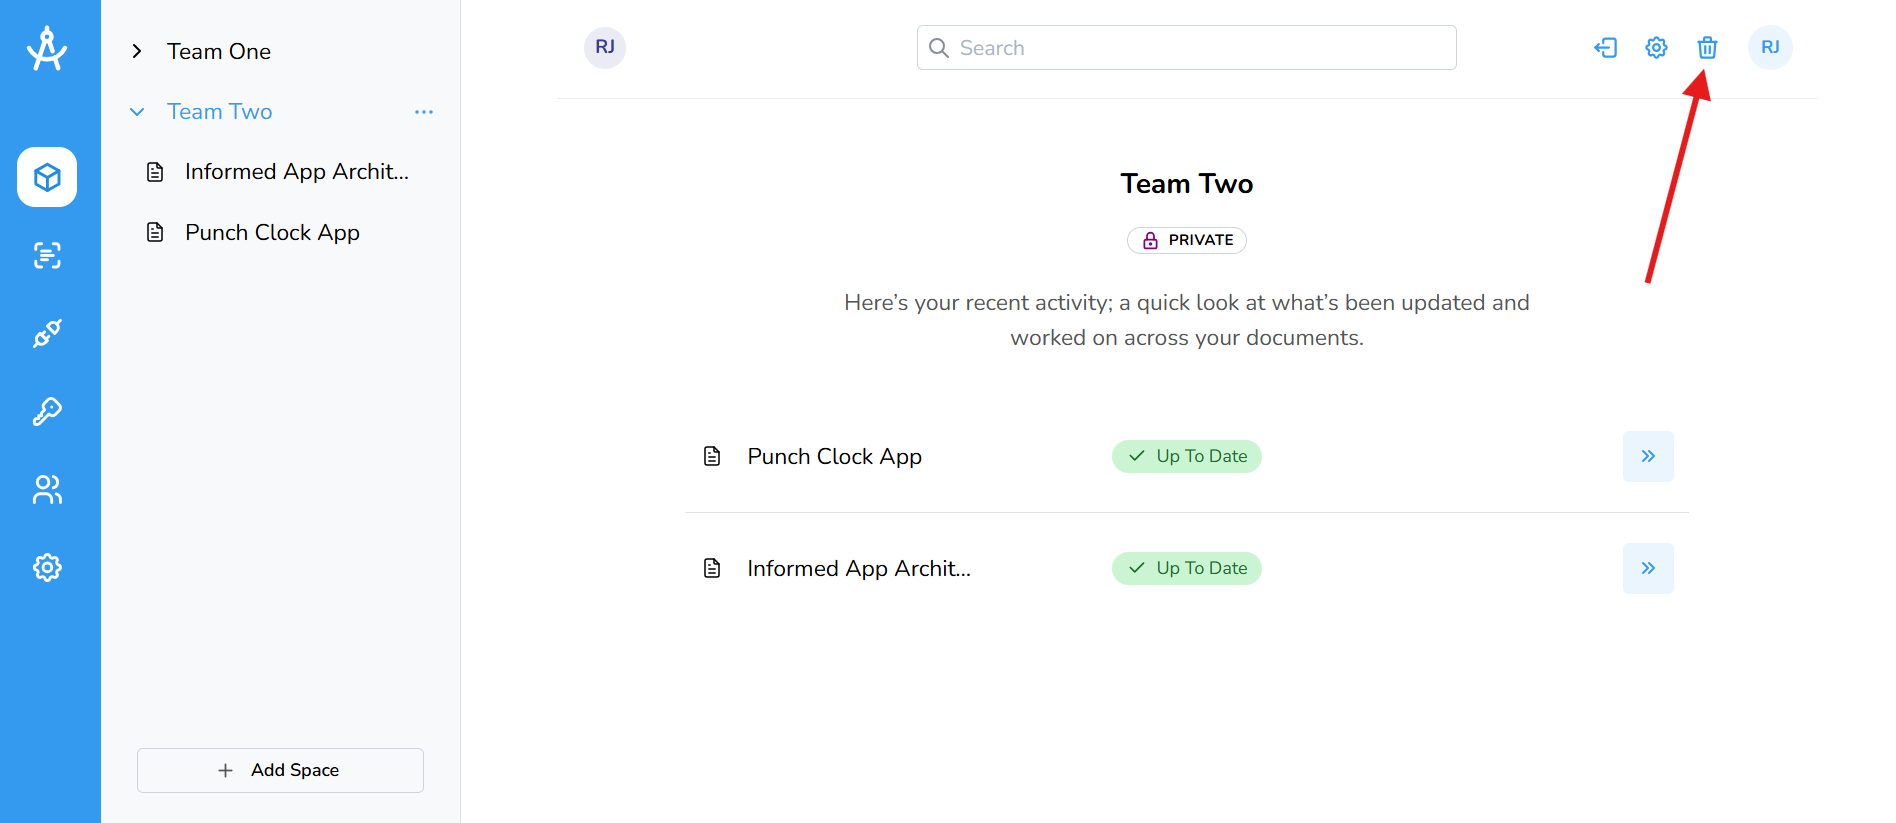
Deleting Documents
Users can move documents to the trash, where they remain for 30 days. During this time, documents can be restored at any point. After 30 days, trashed documents are permanently deleted. Administrators also have the ability to hard delete documents immediately.
- On the right-hand side, click the ellipsis (⋯) and select Move to Trash.
- Return to the space landing page by clicking the space root element in the sidebar.
- Click the trashcan icon in the top-right corner.
-
A table of all deleted documents will appear.
- Admins will see both Restore and Delete options.
- Users will only see the Restore option.