Managing Users
In this section, we’ll walk through how to invite users into your organization. You’ll learn how to send organization invites, manage user roles, edit users, and ensure that new members are seamlessly added to your workspace.
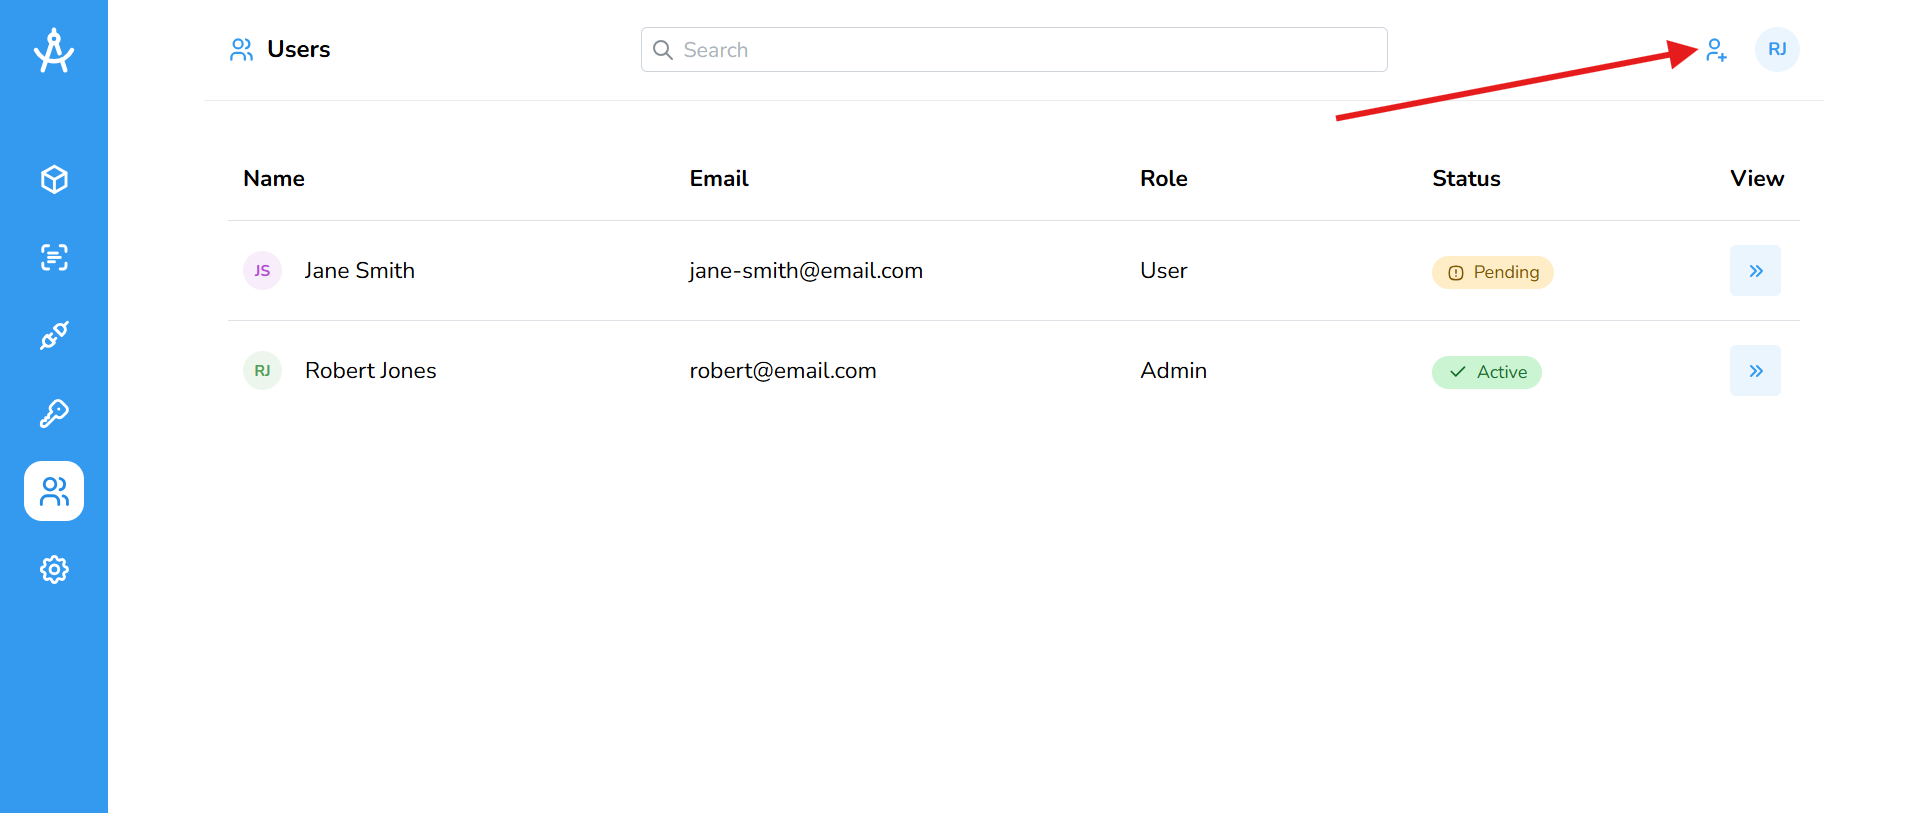
Inviting Users
- Navigate to the Users page located on the left sidebar.
- Click the Add User button to open the invitation form.
- Fill in the user's first name, last name, and email address.
- Select the appropriate role based on the level of access you want them to have (e.g., Admin, User, Guest).
- Click Invite to email them a link to join your organization.
The user will remain in a pending state until they accept the invitation sent to their email.
User Roles in Cartographer
Cartographer supports three distinct user roles: Admin, User, and Guest. Each role comes with specific permissions designed to suit varying levels of access and responsibility within the platform.
| Admin | Admins have full access to all features within Cartographer. They can manage organization settings, oversee subscriptions and billing, and modify all content and spaces. Admins also have complete control over user roles and permissions. |
| User | Users can create and manage content, organize documents, manage spaces, and generate API keys. This role is ideal for team members actively contributing to documentation and platform operations. |
| Guest | Guests have view-only access. They can browse and read documentation but are restricted from making any changes or accessing administrative features. |
Editing Users
To edit a user, click the Edit button in the user table next to the individual you wish to update. From there, you can modify their first name, last name, and assigned role. You also have the option to delete the user from the organization. Please note that each organization must have at least one active admin at all times and you cannot delete the only remaining admin. Users can update their own personal information by navigating to their Profile page.